
Photo preparation · Choose the background before upload
Prepare a Transparent PNG for a Photo Jigsaw
Quick summary
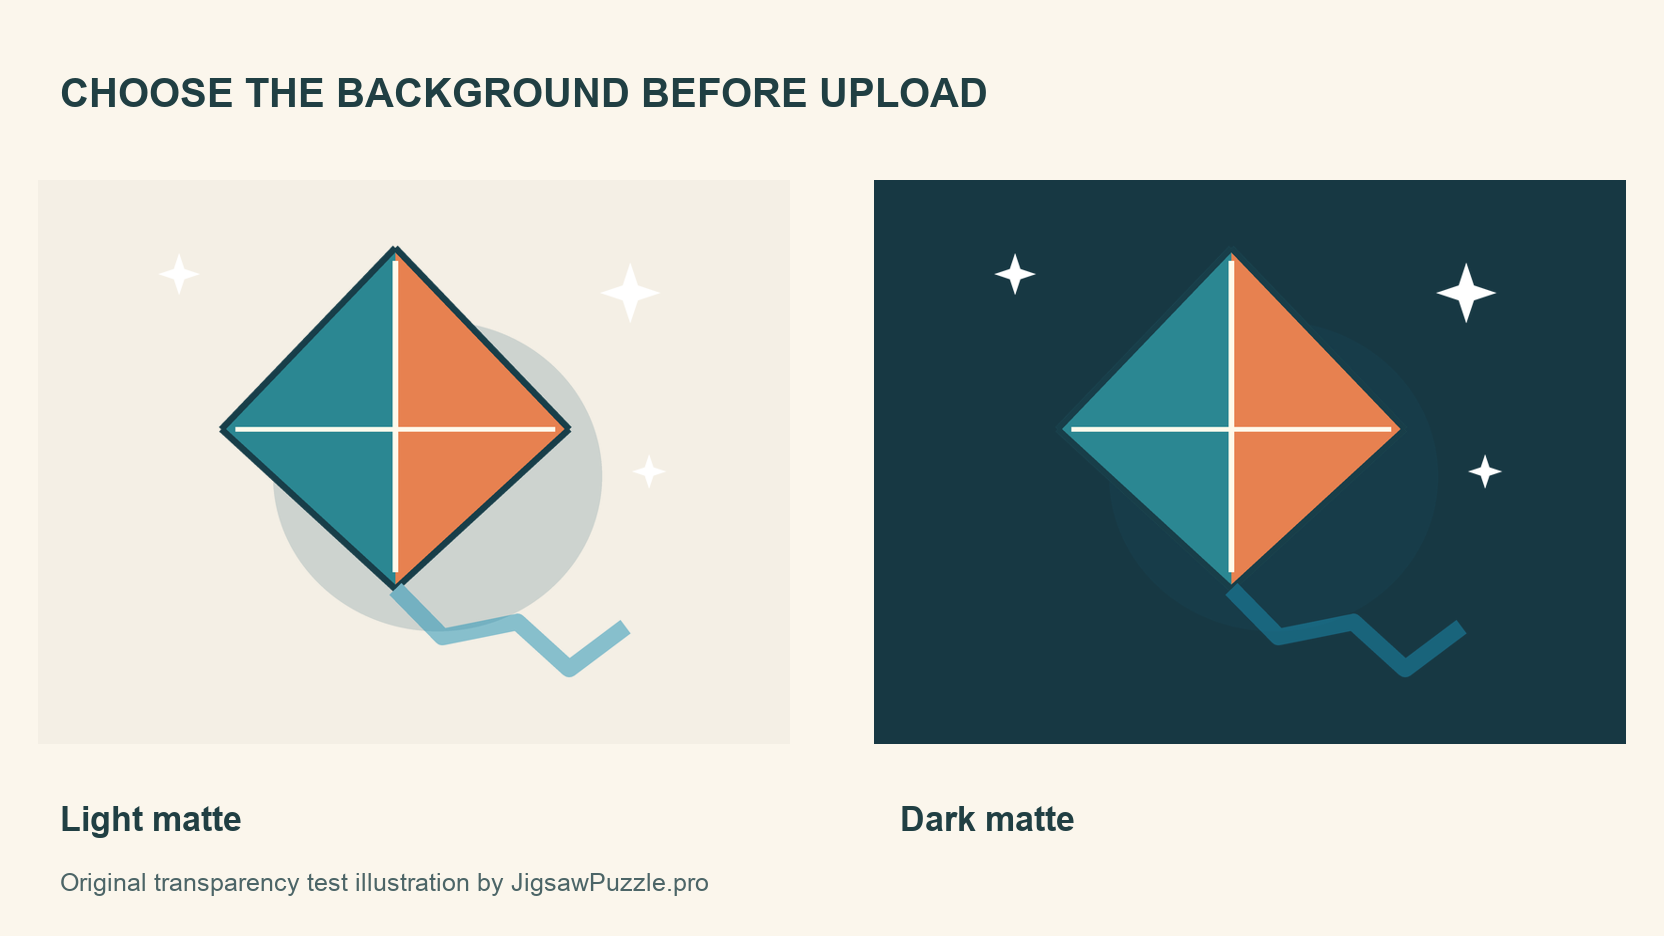
A white star can disappear when a transparent illustration becomes a photo puzzle. The file opens, but a white background added during conversion hides the star. Choose the background yourself when the surrounding color matters.
For this transparent PNG photo puzzle guide, we made an original digital kite illustration and three opaque copies. We then ran all four files through the site’s actual image processor in Chrome on October 27, 2026. The comparison below shows what survived in the resulting JPEGs.
Key takeaways
- 01Keep the transparent original and prepare a separate puzzle copy.
- 02Compare white details and translucent edges against your chosen background.
- 03Reopen the exported file before selecting it in the puzzle maker.
Find the transparent areas before choosing a background
A checkerboard in an editor usually marks transparency. It helps you see empty areas around the artwork. Check the file over another background as well, because a checkerboard saved into a screenshot becomes ordinary picture content.
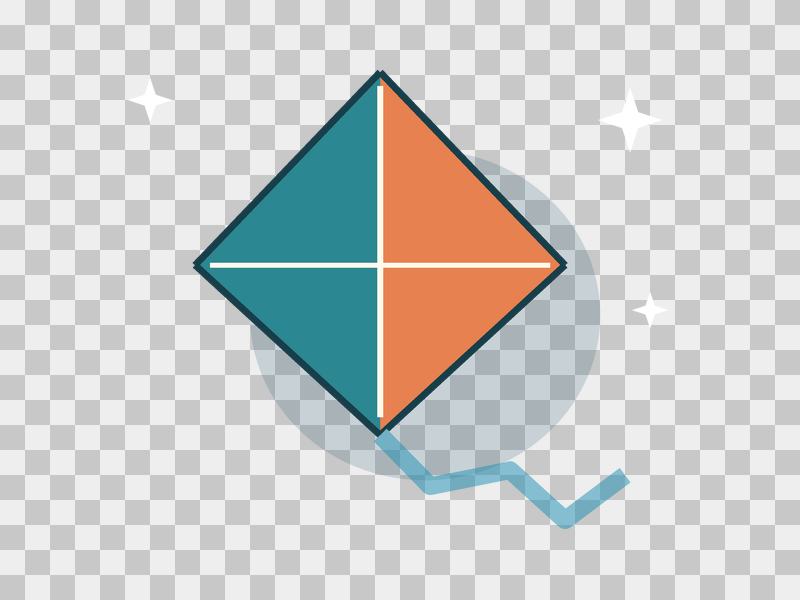
Download the original transparent PNG to try the comparison.
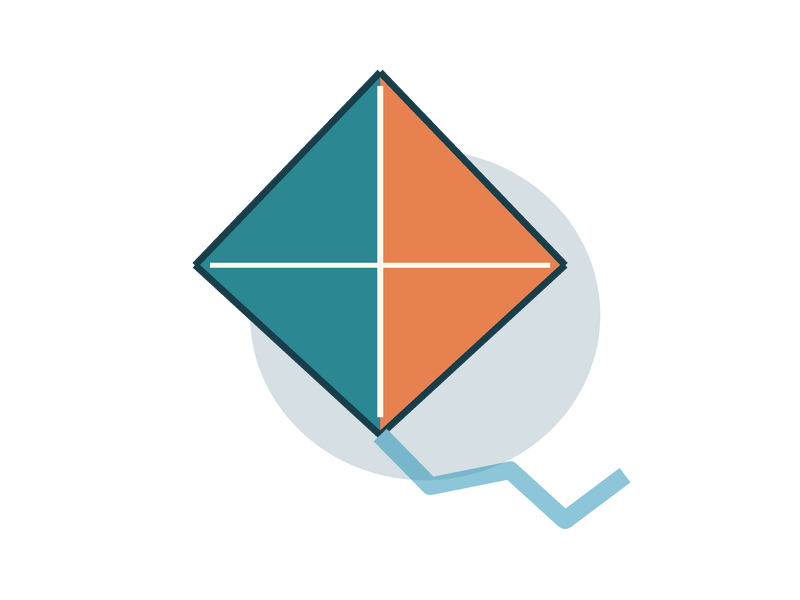
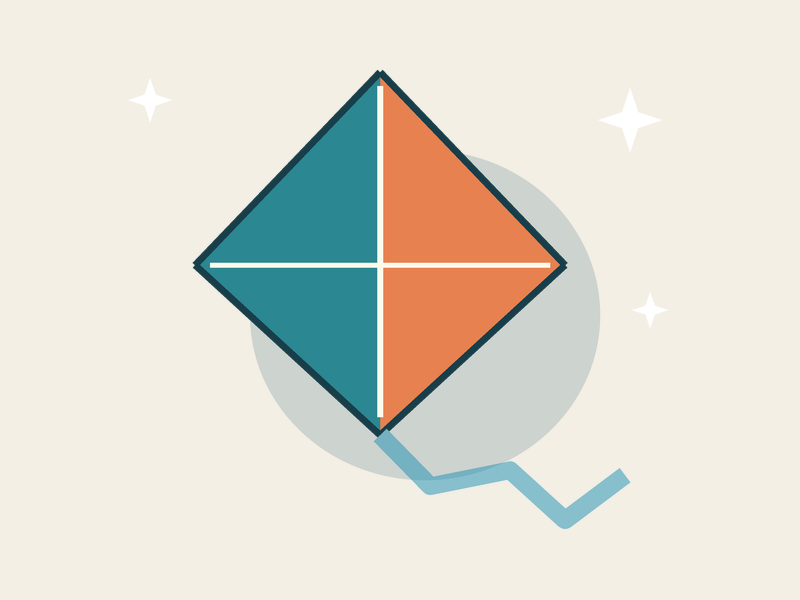
Our original has an empty corner, three opaque white stars, a blue tail at roughly half opacity and a faint shadow. The stars keep their white color. The tail and shadow blend with whatever sits beneath them.
PNG can preserve transparency, while JPEG has no alpha channel. JigsawPuzzle.pro currently processes puzzle inputs as JPEG. In our test, the unprepared PNG acquired a white background. We observed no black background in this test.
Other makers can set different requirements. Jigsaw365, for example, asks for JPEG or PNG without transparency on its create page. Check the maker you plan to use before preparing your copy.
Compare light, dark and textured backgrounds
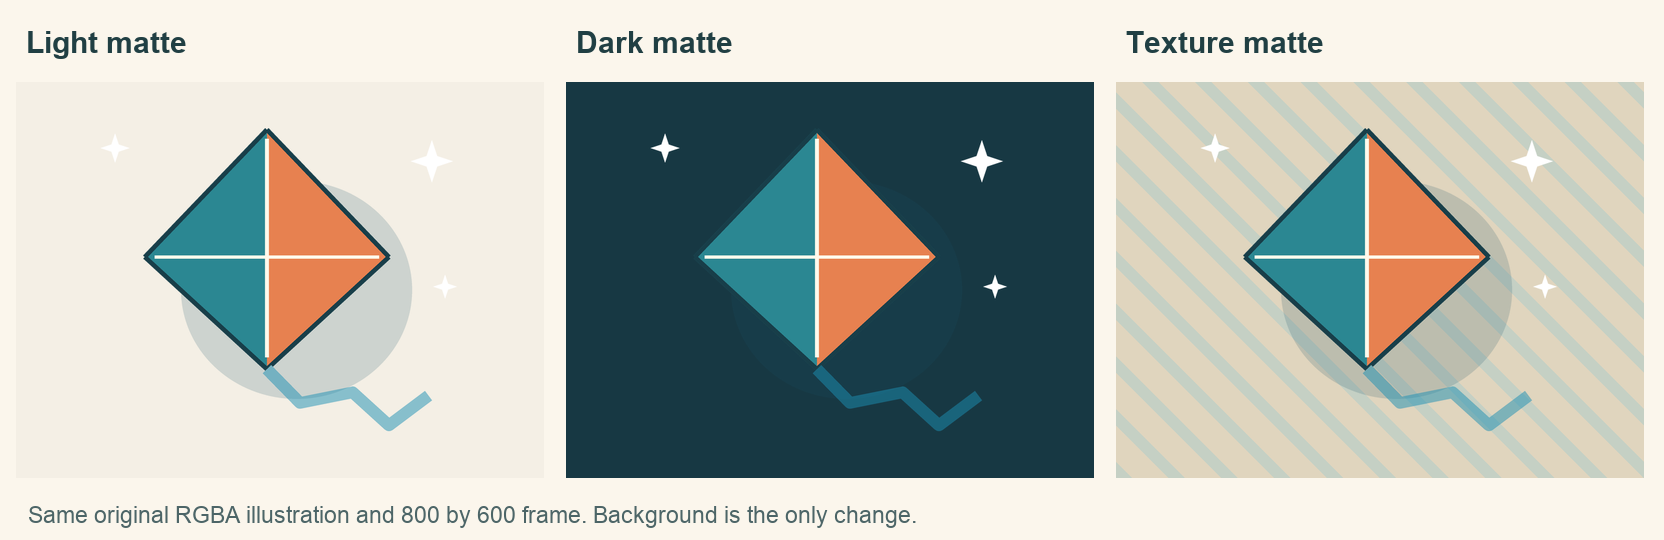
All three finished copies use the same 800 by 600 frame and the same artwork position. Only the background changes. This keeps the comparison useful when deciding how to flatten PNG for jigsaw puzzle use.
| Background | What the sample shows | What to inspect |
|---|---|---|
| Light cream | The kite outline remains clear. White stars have modest contrast. | Check small white details at the size you will play. |
| Dark teal | The white stars stand out. The dark outline and faint shadow become less distinct. | Check whether the outer edge still separates from the background. |
| Pale stripes | Bands remain visible through the translucent tail and shadow. | Check whether the pattern competes with the illustration. |
For this kite, we would choose dark teal to keep the stars visible. Cream separates the dark outline more clearly. The striped version adds marks to otherwise empty areas, but the repeating bands also make the tail harder to read. Compare those details before settling on a background.
Download the light background copy.


Put an opaque layer beneath the artwork
You can do the same preparation in a free browser editor such as Photopea. Its layer documentation explains how transparent areas reveal lower layers, and its fill layers can cover the canvas with a solid color or pattern.
- 1
Open the original
Use File > Open to select your PNG. Keep its full canvas for the first comparison, so a crop does not change the result at the same time.
- 2
Add the background
Use Layer > New Fill Layer and choose a color fill. Move that fill below the artwork in the Layers panel. If the drawing vanishes, check which layer is on top.
- 3
Inspect the edges
Try a light and a dark fill. Look closely at white marks, soft shadows and the outline. Keep the color that preserves the details you want.
- 4
Export a separate copy
Use File > Export As > JPG and save a new filename. Keep a layered PSD if you want to adjust the background later, alongside the untouched transparent PNG.
Flattening combines the visible layers into one picture. An opaque copy gives you control over the color beneath the artwork. We composited the supplied examples programmatically to keep the comparison consistent. The editor steps above follow Photopea’s documented layer and export tools.
Inspect the final JPEG as well as the editor preview
We processed the raw transparent PNG and each opaque copy with the same site function. Every result was an 800 by 600 JPEG. The raw file’s empty corner became white, and its white star had the same white pixel value as that background.
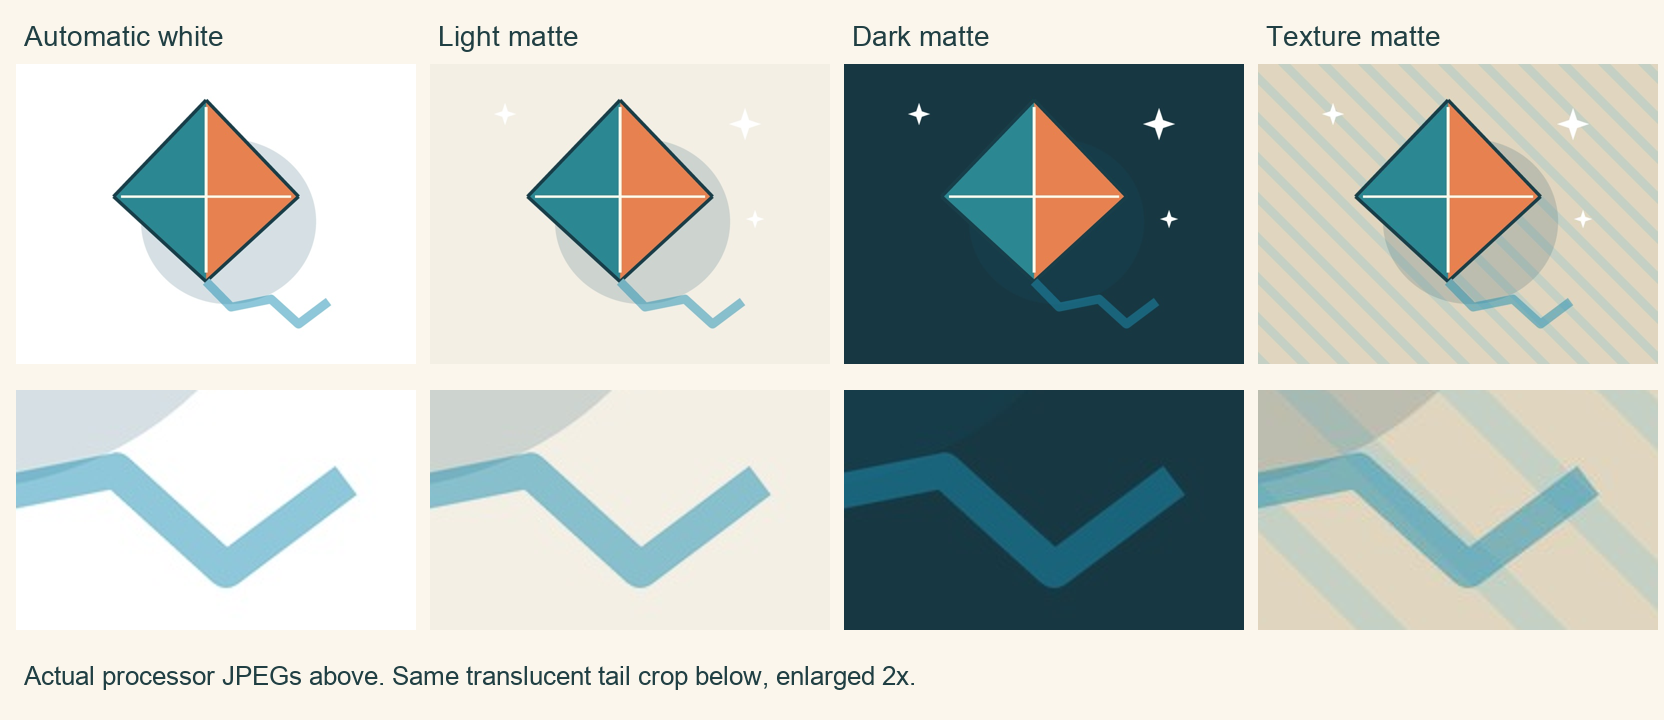
Download the full-size JPEG comparison and enlarged tail crops.
At one fixed point in the half-opacity tail, the output RGB values were 142, 199, 218 over automatic white and 25, 100, 123 over dark teal. The tail really changed color with the background. Its shape and position stayed fixed. JPEG compression can shift individual values slightly.
Download the actual processed dark-background JPEG.

Reopen your exported copy outside the editor and inspect the outline at normal size, then zoom in. Look for a pale fringe around a dark shape or an unwanted strip at the canvas edge. Check any translucent brushwork over the chosen color. If you find a problem, return to the layered original and export another copy.
Check the prepared copy on a small board
Open the photo puzzle maker and choose the opaque file. Easy uses 12 pieces, which is a practical first check. Open Show Reference to compare the whole image with your exported copy. Inspect the white details and the edges before choosing more pieces.
Open the photo puzzle maker with your prepared copy.
Follow the photo puzzle upload guide.
A background can preserve the artwork while leaving large uniform areas around it. If those areas make your first board tedious, keep the background color and try a separate tighter crop. Save that as another version so you can tell which change helped.
Conclusion
Keep both files with clear names, such as kite-original.png and kite-dark-puzzle.jpg. The original lets you choose another background when a different puzzle or display calls for it.
Sources and further reading
Frequently asked questions
Next move
Prepare your photo puzzle
Use your finished image or review the upload process.