
Prepare your picture · One layout with two sets of visual clues
Design a Jigsaw Image with Clues Beyond Color
Quick summary
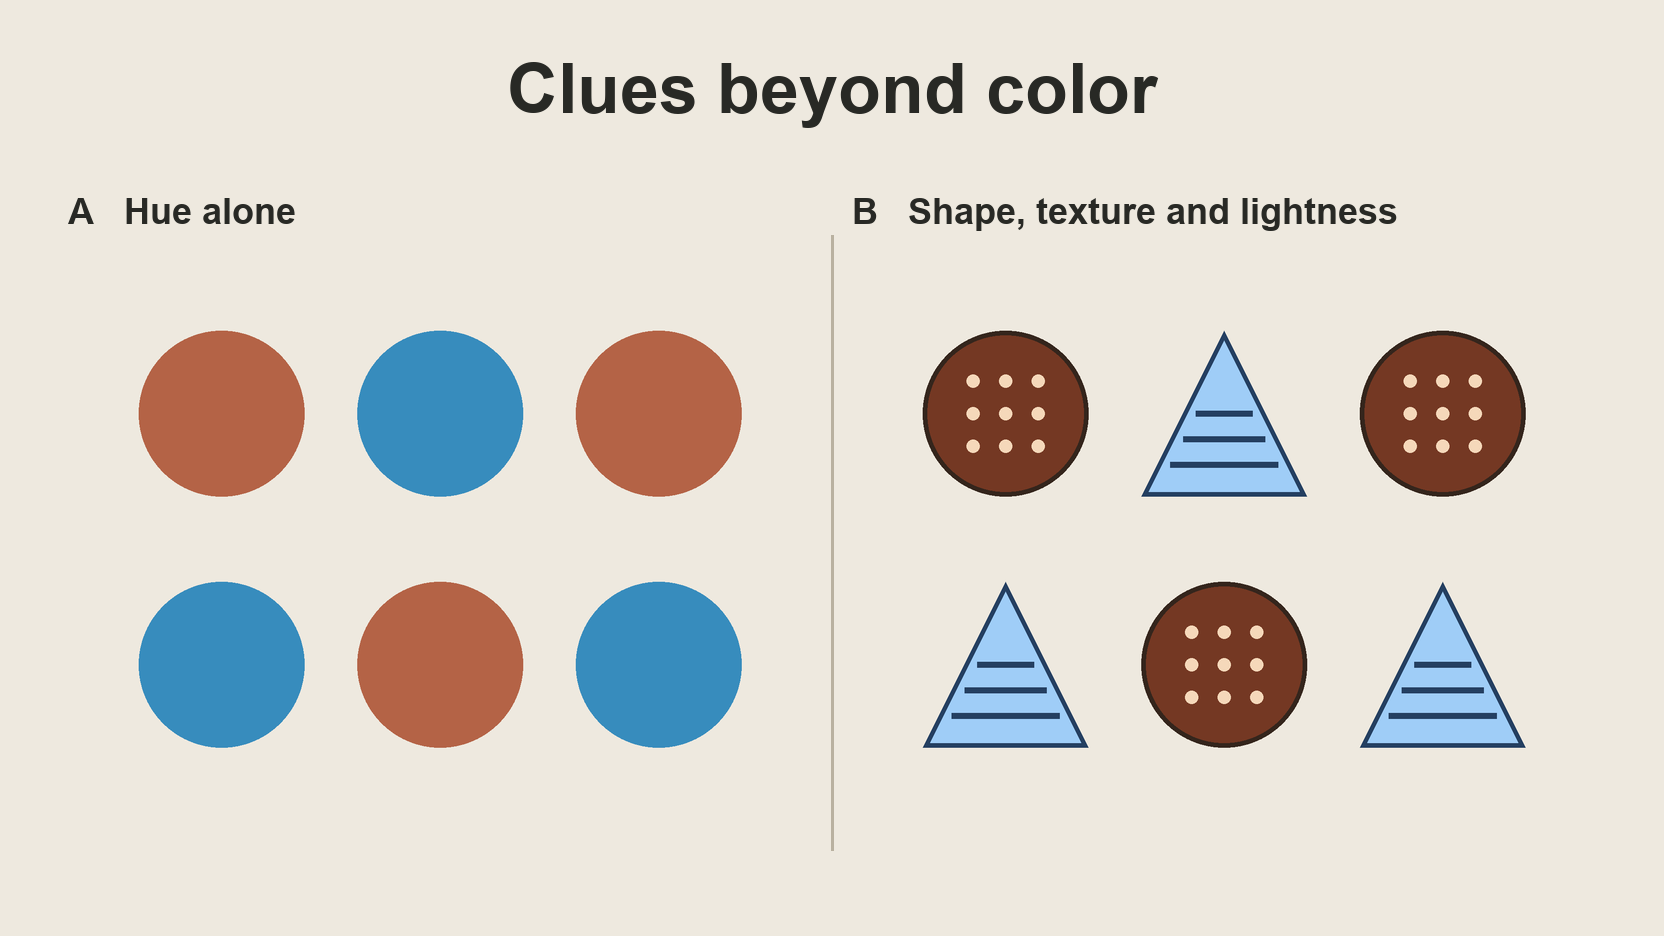
This jigsaw image design beyond color example uses six marks in the same positions. Compare the plain disks with a version that adds distinct outlines and patterns, then check which details remain visible when the color is removed.
Key takeaways
- 01Give each group a shape or pattern someone can name.
- 02Check the complete picture and a small fragment.
- 03Record the viewing conditions beside each observation.
Find places where hue is the only clue
Look at the top row of version A. The left and right disks share a warm fill, and the middle disk is blue. The pattern switches on the second row. Suppose you want a solver to recognize those two groups even when a piece shows only part of a disk. What clue would they have besides the fill?
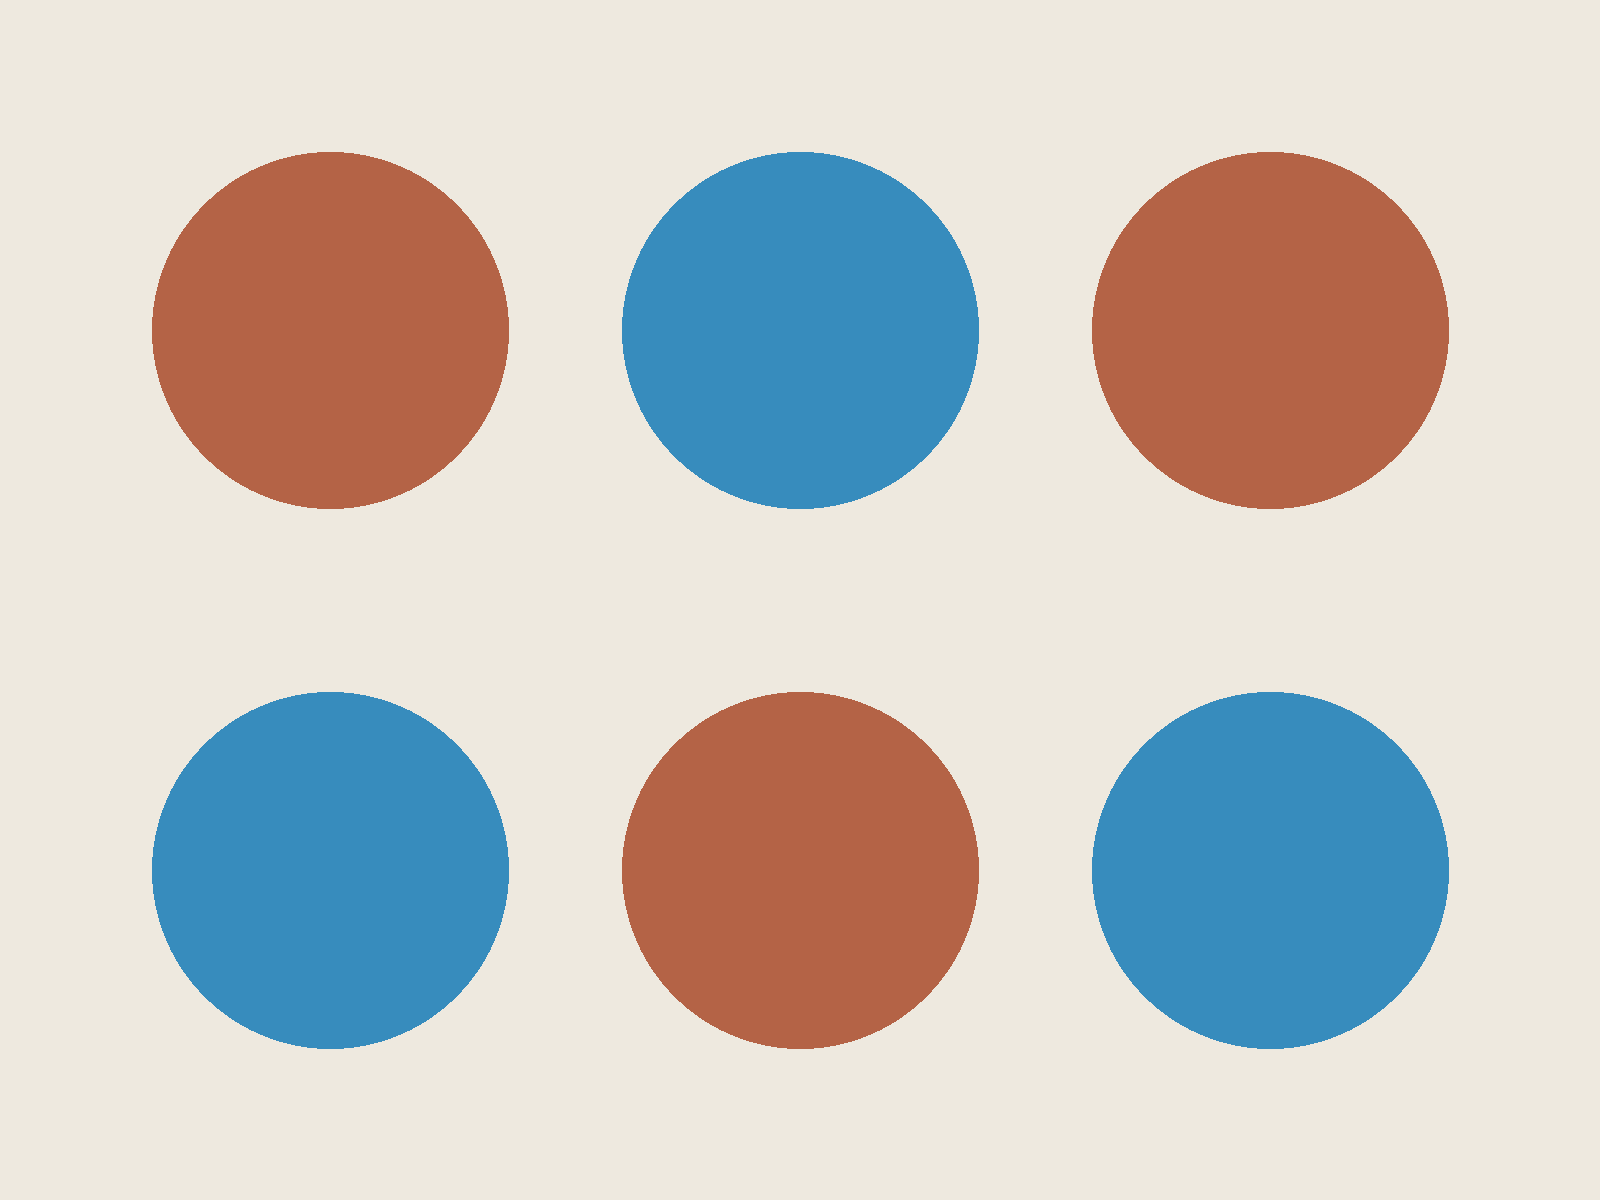
The W3C guidance on Use of Color suggests adding a visual cue such as shape or text when color carries information. For these six marks, the information is group membership. The warm marks can keep their color and also share a recognizable pattern.
On your own image, point to two areas that need to be distinguishable. Describe each one without naming its color. If both descriptions come out as “round patch near the middle,” you have found a useful place to work. Leave decorative areas alone when the reader has no reason to tell them apart.
Add shape, texture and lightness differences
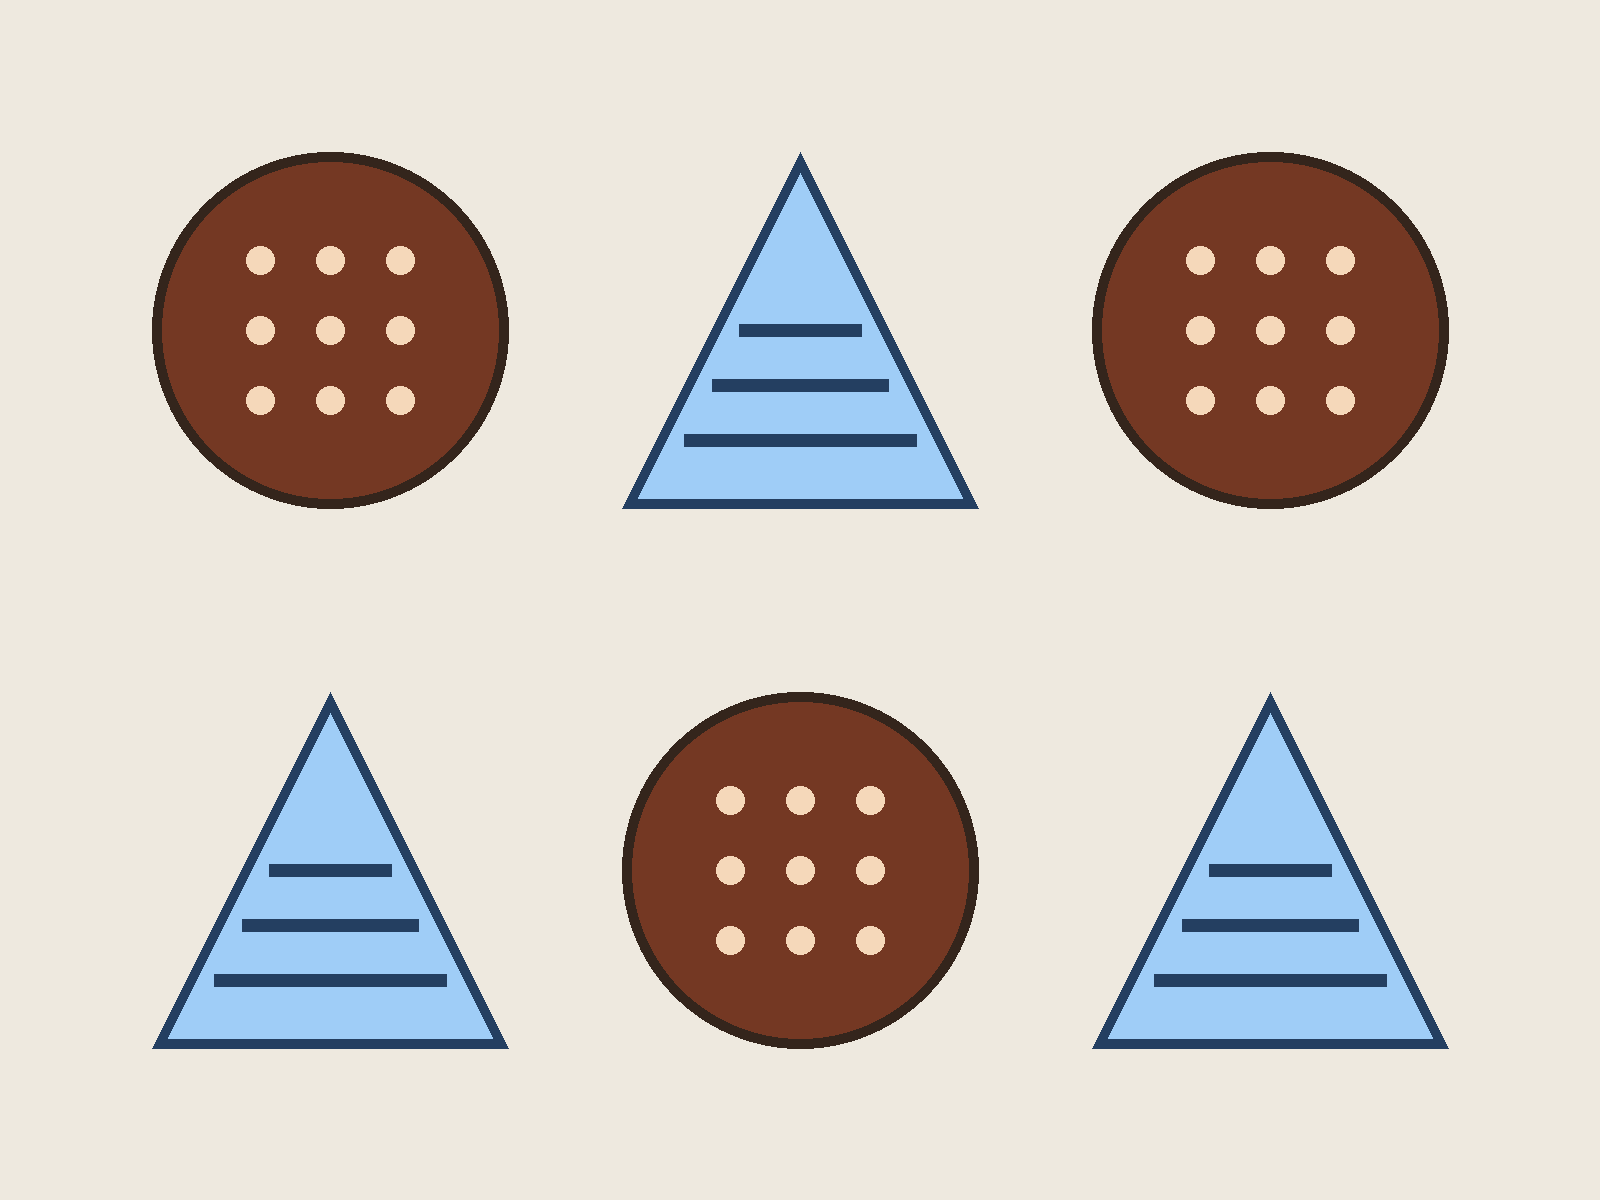
Version B keeps the background and the centers of the six marks. The dark circles have pale dots. The lighter triangles have three dark horizontal stripes. A whole mark gives you a silhouette to compare. A small crop from its center may still give you a dot or a stripe even when the outline lies outside the crop.
Work at two scales. In the whole picture, look for distinct contours. In a fragment, look for a repeatable interior mark. A dot tucked into one corner helps only when a piece includes that corner. Spacing larger dots across the interior gives the solver more places to find the pattern.
Puzzle image contrast and texture work together here. The dark circle sits clearly against the pale background. The triangle is lighter, so a dark outline defines its edge. Its stripes are thick enough to remain visible in the reduced preview. If a pattern starts to blur at the width you expect to use, simplify it before adding more marks.
Compare the two versions in grayscale
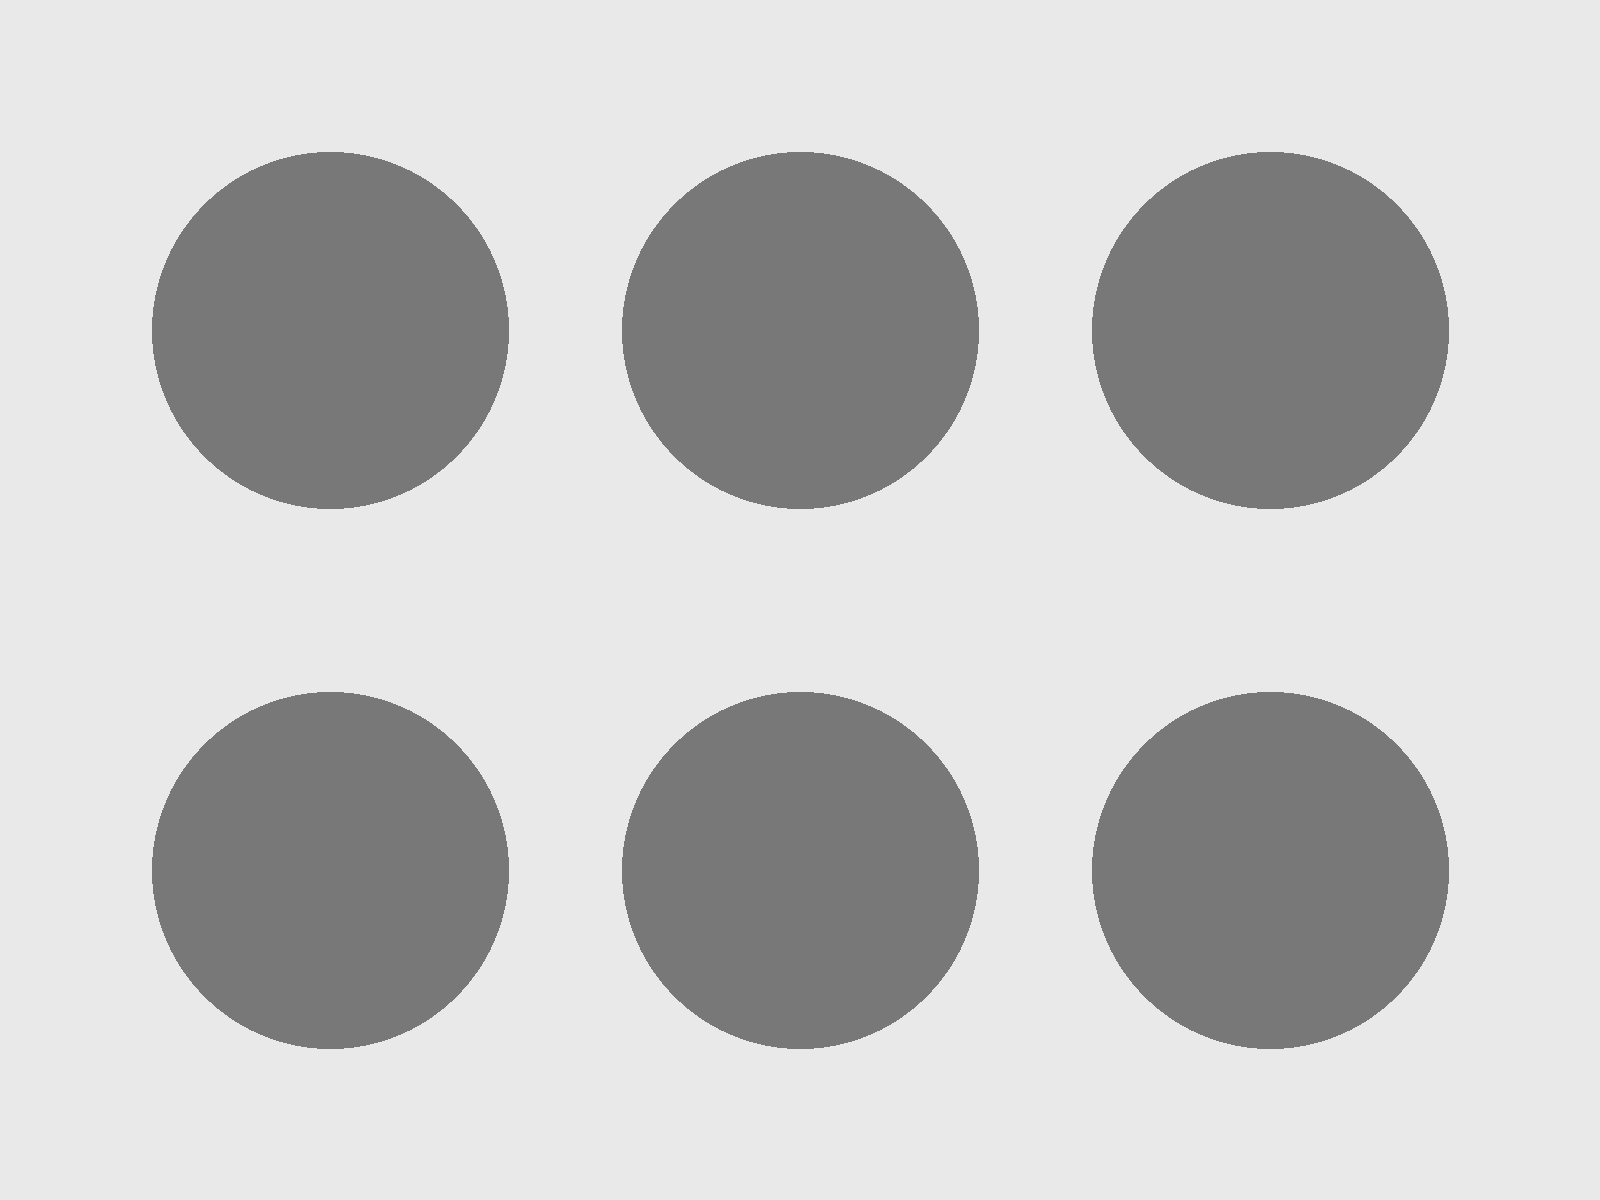
Export both versions at the same dimensions and convert them using the same grayscale setting. The flat terracotta and blue fills in these files both convert to a gray value of 120 on a scale from 0 to 255. The six disks in A remain visible against the background, while the two groups lose their visual distinction.
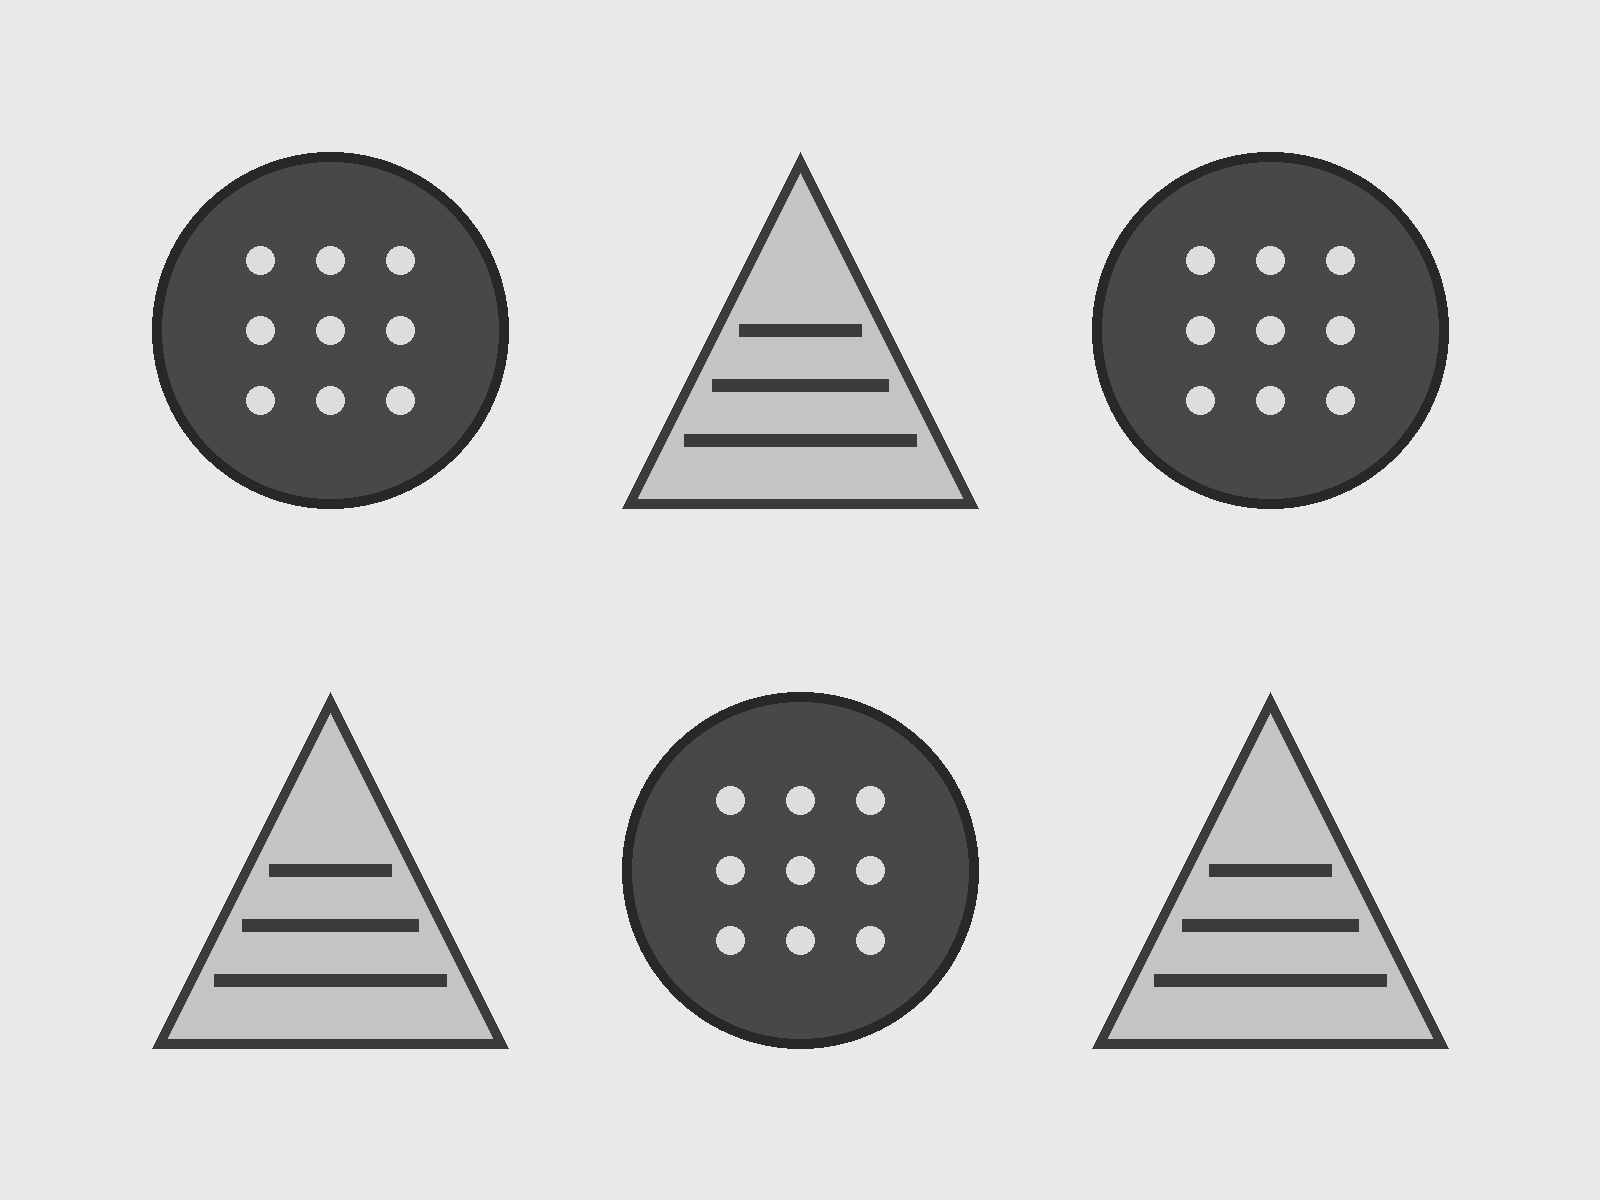
The dark and light fills in B convert to 72 and 196 with this same setting. The two groups are also distinguishable by contour and pattern. Because the revision changes several cues together, this comparison shows what survived the conversion as a group. To examine one design choice on its own, export a third file that changes only that choice.
Grayscale shows how a design reads when hue is removed. Different forms of color vision change the relationships between colors in different ways. Treat the grayscale images as a check on the artwork under one viewing condition. A fragment that contains only the blank space between marks will still offer little information about either group.
Record what the solver can see
Upload each color version in DIY and choose Easy for 12 pieces. Keep the device and display size the same. Look at the assembled reference, then pick a loose piece that shows an interior mark and one that shows only an edge. Ask what the solver can identify from each fragment and which visible feature they used.
Use the table to record feedback on the color independent picture clues. The example is an observation from the exported artwork. Leave a separate row for a solver’s own words, including any detail they found hard to name.
| Version and view | Area examined | Visible clue or uncertainty | Next edit |
|---|---|---|---|
| B grayscale, whole image | Top middle mark | Triangle outline and horizontal stripes remain visible | Check the stripes at the intended puzzle size |
| Your session | Piece location or reference view | Record the detail the solver points to | Record one change to try |
Record which version each solver saw first. Someone who remembers the layout from A may recognize a location in B before noticing its stripes. Keep their comments alongside the device, image size and view they used. The sample row records an observation of the artwork. A solver’s own row would tell you what they noticed while using it.
Sources and further reading
Frequently asked questions
Next move
Compare the two puzzle images
Open each color version and look for the clues in its loose pieces.