
Photo troubleshooting · Find where the detail changed
Why a Photo Jigsaw Looks Blurry on Screen
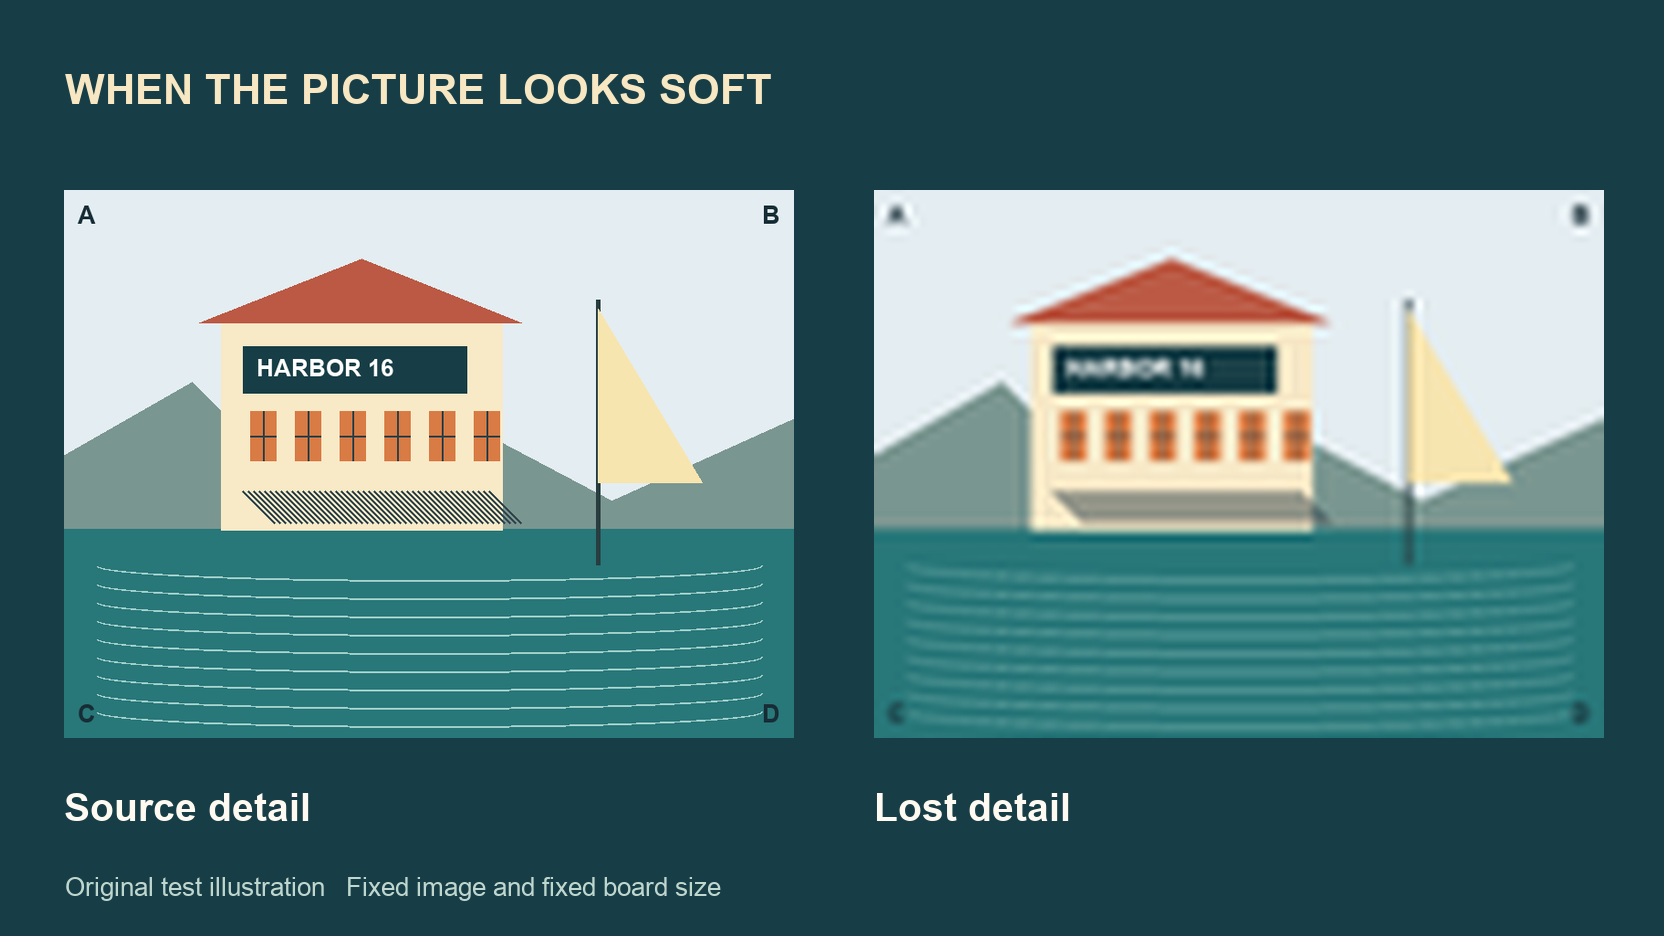
Quick summary
A photo can load successfully and still look soft. Compare the original file with the copy on your board, then check compression and display size. Changing the piece count cannot restore missing image detail.
For this guide to online photo puzzle image resolution, we made one original harbor illustration and changed one factor at a time. The comparisons below use the same frame and show exactly which settings changed. We also ran four files through the site’s image processor in Chrome.
Key takeaways
- 01Check whether detail is missing or the picture has been framed differently.
- 02Compare copies at the same board size and zoom.
- 03Keep the original and choose an export after inspecting the details you need.
Distinguish blur from cropping
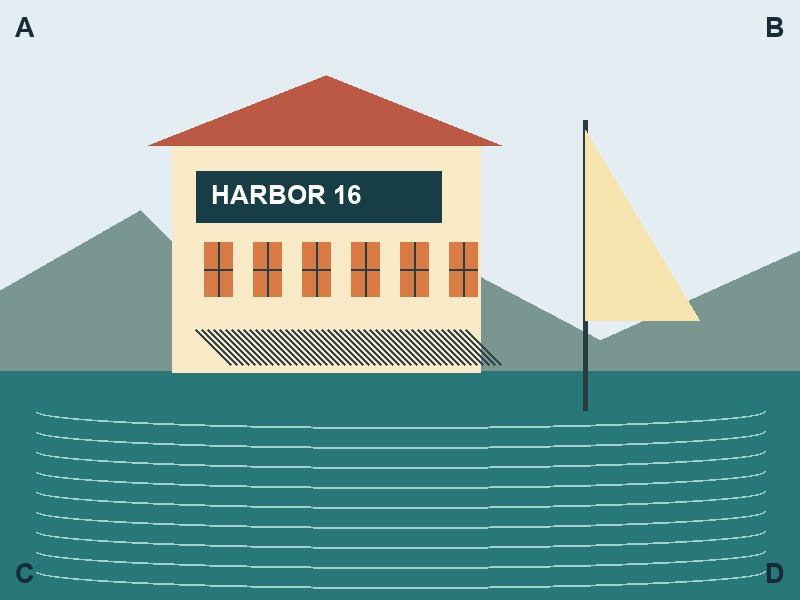
First locate something near each edge of your picture. A missing person, clipped roof or absent border points to a framing problem. If those features remain in place but their edges look smeared, inspect image detail next. Our test picture has corner letters A through D so the complete frame is easy to recognize.
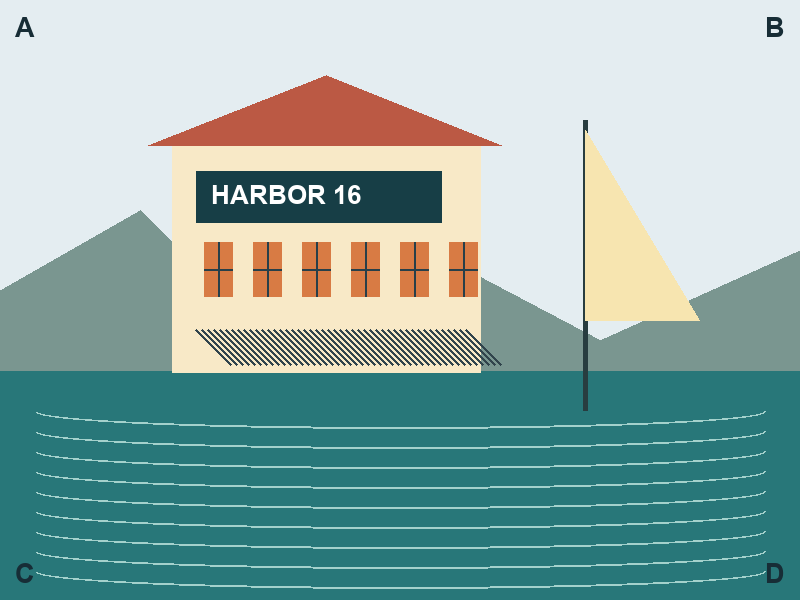
The current renderer fits the whole image proportionally inside an 800 by 600 logical board. Different proportions can leave borders. We checked the shared fitting calculation across landscape, portrait, square and small images before making these comparisons. The same calculation supplies the image transform for each piece.
Use the separate framing guide if the missing area is your main problem.
For a fair clarity test, keep the subject and aspect ratio unchanged. Cropping closer makes the subject occupy more of the board, which can make comparisons misleading. Use copies of one file and compare the same window, sign or patch of texture.
Keep the canvas constant for a fair comparison
Our reference and all three degraded exports are 800 by 600 pixels. The local processor test used the current site code and drew every processed result into an 800 by 600 canvas. All four outputs remained 800 by 600 JPEGs, with no offset or border needed for this matching aspect ratio.
| Input copy | Input bytes | Processed bytes |
|---|---|---|
| Reference PNG | 11,496 | 31,724 |
| Low-detail PNG | 161,839 | 52,632 |
| JPEG quality 92 | 68,754 | 66,413 |
| JPEG quality 8 | 16,911 | 18,018 |
The softened PNG was much larger than the crisp reference PNG. Converting the simple reference drawing to JPEG also made its file larger. File size alone did not rank clarity in this Chrome run. Different photographs and browsers can produce different byte counts.
Download the experiment settings and measured file record.
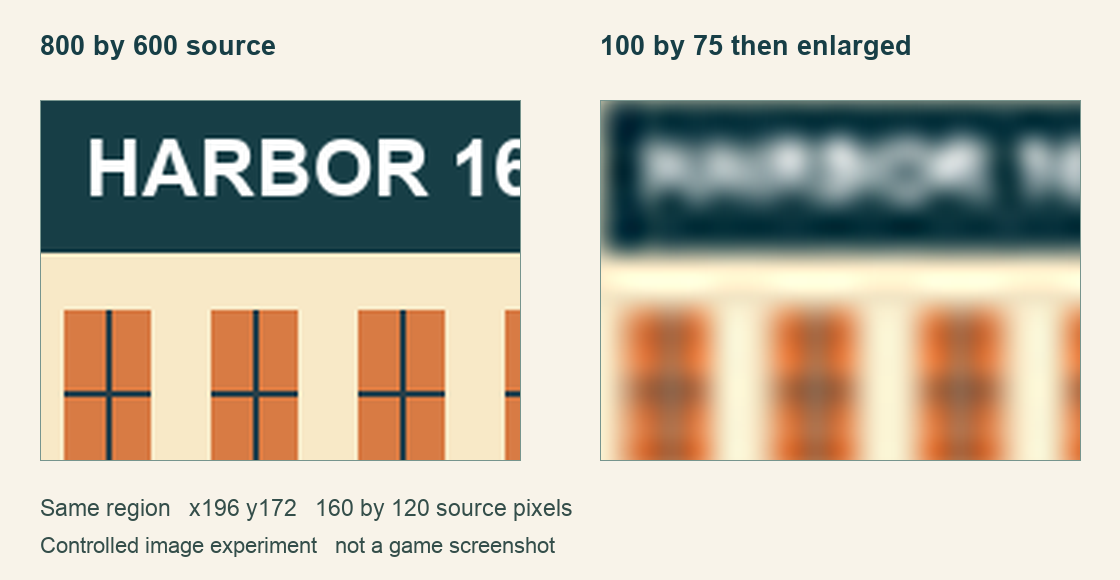
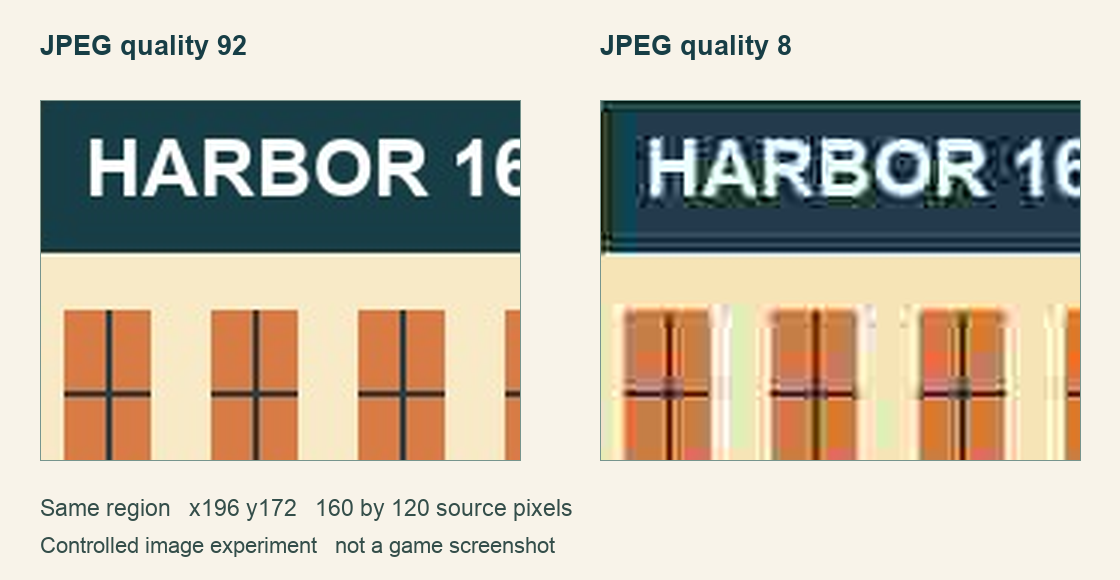
The enlarged comparison panels are controlled illustrations made from the input files, not game screenshots. Each uses the same 160 by 120 pixel region beginning at x196, y172. Except in the display-scale test, both sides enlarge that region to 480 by 360 pixels using Lanczos resampling.
Compare source detail before changing JPEG quality
Download the full-size source detail comparison.
In the right-hand crop, the sign letters and thin window bars merge into broad soft marks. Enlarging the reduced copy restores its dimensions but leaves those missing distinctions absent. If your saved photo already has this problem, return to the camera original or an earlier export.
This is also why typing a larger width into an editor can disappoint. You get more output pixels, but the new pixels are calculated from what remains. Apple’s Preview guide distinguishes proportional resizing and resampling controls. Check the resulting image itself before replacing a useful original.
Read Apple’s resizing and resampling instructions.
Download the full-size JPEG comparison.
The low-quality JPEG adds visible bands around the pale lettering and breaks up the window edges. Both files still contain 800 by 600 pixels. Their equal dimensions hide a real difference in the stored detail. These encoder values are stress-test settings, not percentages that transfer unchanged between editing apps.
Start a fresh export from the original when comparing compression settings. Repeatedly saving an already damaged JPEG changes your starting point. Keep the export method, dimensions and viewing scale fixed while deciding how much compression you can accept.
Check what display enlargement changes
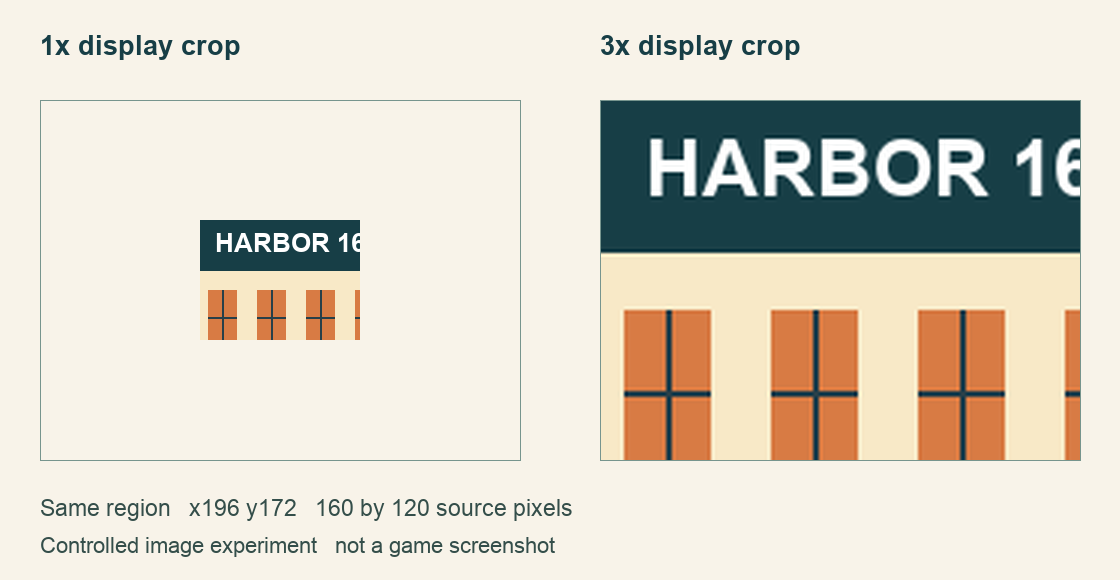
Download the full-size display scale comparison.
The larger crop spreads the same recorded detail over more display space. It makes the pixel edges and smoothing easier to inspect. It does not create a higher-resolution photograph. MDN documents that canvas image smoothing affects enlarged images, so the exact appearance can vary with rendering choices.
Compare copies at the same in-game zoom and browser zoom. A small reference preview can conceal damage that becomes obvious on a larger piece. If softness appears only after enlargement, return to your usual playing scale before deciding whether another export is necessary.
Choose the smallest copy that still reads clearly
Make two exports from your original and open each at your intended playing scale. Inspect the same window edge or patch of texture in both. Choose the smaller copy only if those details remain useful to you. Our harbor test compares one illustration, so it cannot set a minimum pixel count for your photographs.
Jigsaw Explorer recommends roughly 1500 to 2000 pixels on the longest side for its own player. That advice belongs to that product. Our processor currently caps the longest side at 2048 pixels and targets a 2 MB processed file. Those are processing settings, not proof that 2048 is the best input size.
Compare Jigsaw Explorer’s own custom image guidance.
Download the higher-quality harbor JPEG to try the same picture.
Sources and further reading
Frequently asked questions
Next move
Check a new copy on the board
Keep the original file beside your export for comparison.